Sunday, July 26, 2015

Empanadas de Choclo - Corn Empanadas

In summer, fresh corn makes The. Best. Empanadas. 


You just cut some corn off the cob, mix it with a stiff bechamel and a little cheese, fold them into the pastry, and bake at 400. For the pastry, you can buy tapas para empanadas at a Latin or Italian market, or click here for a recipe. For the bechamel and the rest of the filling, read on. This will probably leave some extra pastry, but you can fill that with a little ham and cheese or some fruit, whatever you have on hand. 


Thick Bechamel: 
-2 Tbsp butter
-2 Tbsp flour
-1 c milk
-1/2 tsp salt
-fresh nutmeg (a few gratings) or a small pinch ground nutmeg
-a little black pepper

Warm the milk but don't boil it. Melt the butter in a heavy saucepan over medium low heat. 

I've got a lightweight pan here because my heavier one still smells like star anise from the tea eggs...I'll use it a couple of times to boil pasta or rice and it'll be fine again. If you only have a light pan, keep a very close eye on the temp - nothing should brown. 


When the butter bubbles, whisk in the flour. 

Cook for about a minute, whisking all the while, and then ladle in some of the milk. 


I put in some milk and the steam covered the lens for a lovely dreamy photo. Adventures in photography! Ha!

Continue whisking. Mix in salt, pepper and nutmeg.  Ladle in more milk as it thickens up. 

After the last bit of milk, continue stirring for about one more minute. Then just turn off the heat and let it cool. 


Shuck four ears of corn  and cut the kernels off the cob. 

I use a big platter to catch most of the kernels because they tend to fly a bit. You could also use a clean kitchen towel or try this Bundt pan trick from Saveur - I didn't want to try it enough to dig out the Bundt pan, but let me know if you do!


Stir the corn into the cooled bechamel and grate in 1 or 2 oz Parmesan or Romano cheese. Taste the filling and adjust salt, pepper and nutmeg to taste - err on the side of a little too much, since you're putting this in a pastry. 


Cool the filling a little more - the cooler it is, the easier it will be to fill the pastry. Follow the directions on the Masa para Empanadas recipe to fill. If you chill it overnight, though, the corn will release more liquid and you'll have to drain it a bit before filling. 


Wednesday, July 22, 2015

Chinese Tea Eggs - updated 2/16

Teaching in Chinatown has its perks, many of them culinary. In addition to the restaurants, our students bring us delicious treats like homemade Chinese tamales (zhong or zongzi) and beautifully marbled tea eggs. Start this recipe about 24 hours ahead. 


Tea eggs are hard boiled eggs boiled again and steeped for a few hours in soy sauce, tea and warm spices. You can buy one at some Chinese restaurants for about 75 cents each, a bargain for a snack in my opinion. However, the lady who works at the one nearest me tends to yell at everyone and my students insist that 75 cents for one egg is too much money, so I asked my wonderful colleague Debra for her recipe. Here it is with a couple of minor changes. Now that eggs have been exonerated by the medical establishment, I hope you'll try this and enjoy them!
First, bring half a dozen eggs to a boil. As soon as the pot is really boiling, turn off the heat, cover the pot, and let sit for 8-12 minutes (8 min if you want the  yolks a little soft, 12 minutes if you want them completely hard-cooked). 

You can use whatever eggs you have on hand, brown, white, blue...I'm just using white to show the color contrast. 
While they cook, add to another pot and bring to a simmer:
-3 c water
-3 Tbsp regular soy sauce (if you have dark soy sauce, use 2 Tbsp regular and 1 Tbsp dark)
-1 tsp salt
-a 1 inch piece of ginger
-1 cinnamon stick
-1 or 2 pods of star anise (most recipes call for 2, but I like just 1)
-a piece of fresh or dried tangerine or mandarin rind
-2 black tea bags (Lipton is fine) or a total of 2-3 Tbsp loose-leaf black tea. I have some loose leaf Oolong and one black tea bag here. 


Drain the hot water from the eggs and fill the pot with very cold water and a few ice cubes. When the eggs are cool enough to pick up, take each one out, hold it in one hand and tap all around the egg with the back of a spoon to create a network of tiny cracks all over. Don't remove any big pieces of the shell. You can take off a couple of tiny ones. 


Here's the step I only found on one blog I'll be consulting more often, Christine's Recipes: sterilize a pin and poke holes through the shell and white to help the flavoring get inside the eggs. You can skip this if you want, but I noticed a difference. 


Put the eggs in the pot of tea and flavorings and make sure the water just covers the eggs (or covers them by about an inch). Simmer for 10 minutes, then turn off the burner and let sit for an hour or two at room temp, then put in the fridge for about 24 hours. 

Pack an egg up to peel and eat as a work or school snack, or warm them up and serve at home. 


Clockwise from top: tea egg in formerly white shell, tea egg out of shell, marbled shell, star anise pod, tea leaf, cinnamon stick. If you only have these ingredients plus the soy sauce, they'll still come out great. 

Tuesday, July 21, 2015

White Peach "Cello" Liqueur

I grew up in and around Philadelphia, and summertime always brings back memories of stopping by farm stands on our way "down the shore". Nothing beats farm fresh produce in season, and we'd always stop for more bags of fresh stone fruits on our way back. White peaches, however, I didn't discover until my year as a student in Argentina when my host family took me to visit their relatives in Mendoza. I was so intoxicated by the honey-peach flavor that think I ate a whole flat in two days. 


I've been making Limoncello and Arancello for a few years now, and last year I saw a bottle of "Peach-Cello" in an Italian deli. Challenge accepted! A dear friend used to work at the Ferry Building Farmers' Market in SF, and she introduced me to the Tory Farms booth. All season long they have the most amazing stone fruit, and two weeks ago I got these beauties there. 


A couple of days before that, I picked up some 100 proof vodka and a really big canning jar, about 5 liters. A gallon jar would also do the trick, but that would have meant an extra stop on the way home! You'll also need one lemon, but if you don't have it, it's not the end of the world. 


The peaches should be very soft so they release the juices into the booze. These were pretty firm, but I knew they were such good quality they'd work anyway. I peeled and cut up about a dozen large peaches and put them in the (clean) jar with the 100 proof vodka (80 proof is also fine) and a 1" x 2" piece of lemon peel, white pith removed. 


That was it for step one! I put the jar in the kitchen away from direct light for almost two weeks, picking it up to swirl the pieces around every couple of days. 

After the steeping (one to two weeks is all this kind of fruit needs, not the 30-40 days needed for lemon or orange), I made 5 cups of granulated sugar and 7 cups of water into a simple syrup. When it cooled, I set up a large pot (this one is 8 qts but 5 would have been fine) with a strainer lined with cheesecloth. You can find cheesecloth at most supermarkets. 


The peaches turned a little brownish, but they tasted just fine. I poured the contents of the jar into the strainer and mashed the peaches a bit to try to get out any more juice and booze they were keeping from me. I poured the peach-infused vodka back into the jar and added the simple syrup. Now the jar gets to sit for another two to four weeks and tease me while the elements blend together. 

I'll bottle it the same way I did here with the arancello, then chill it and serve it cold or mixed with sparkling water or bubbly. I can't wait! 

Save the image below and print from your computer to keep the recipe. 


Saturday, July 11, 2015

Strawberry Agua Fresca

Well, I've gone and done it again. I got so excited about beautiful summer fruit and bought two pounds of strawberries. Then, I left them on the counter overnight, so I've gotta use them all up TODAY. Most are going into a baking project, but I thought I'd try my hand at making a Mexican summer treat with the rest: Agua Fresca. If you have watermelon or mango on hand rather than strawberries, those also work really well. There's no booze in this, but there certainly could be if you felt like it.
My apartment has these incredible big windows that provide lots of light! So much light, in fact, that most daytime photos taken here are backlit...but the light, views and fresh air more than make up for that little annoyance. 
Wash 2 cups or so of strawberries, then remove the stems and most of the white hull next to the stem. Cut in half and add to a blender with water to just cover, 1/4 cup of sugar, and the juice of one lime or lemon.

If you want to double the recipe and you have a big blender, great! If you have a little one like mine, just do it in two batches.

Strain the blended fruit and water through a fine mesh strainer to remove any big parts and excess seeds. My extractor-type blender pulverized most of it, so very little stayed in the strainer. If you have an even fancier one, you may decide to skip this step.

Pour into a large jar or pitcher. It's too thick right now, so to make it more of an Agua Fresca, add about two or three cups of cold water or a bunch of ice cubes to dilute it. You can, of course, add more or less to taste, but you're aiming for more of a lemonade thickness than a smoothie thickness.

Mix well and check the consistency until you have one that makes you happy. I'm going to leave it a little thick so I can add cold fizzy water when I'm ready to drink it.
The final product should look about this color.


Sunday, July 5, 2015

Salted Burnt Caramel Pots de Creme

Pots de Creme are baked custards full of rich, creamy, sweet goodness...these add saltiness and a slight edge of bitterness to highlight those things. I wanted to make a portable dessert to take to the Symphony at Stern Grove today, so I tweaked a recipe from foodnetwork.com so it would yield enough to fill ten 4 oz Mason jars and let the caramel go just a touch longer with delicious results. I know, I know...enough with the Mason jars! They serve a purpose here, though, turning a delicious restaurant dessert into a portable picnic or potluck treat. You could, of course, bake them in ramekins if you preferred.
Photo courtesy of Caresa Capaz
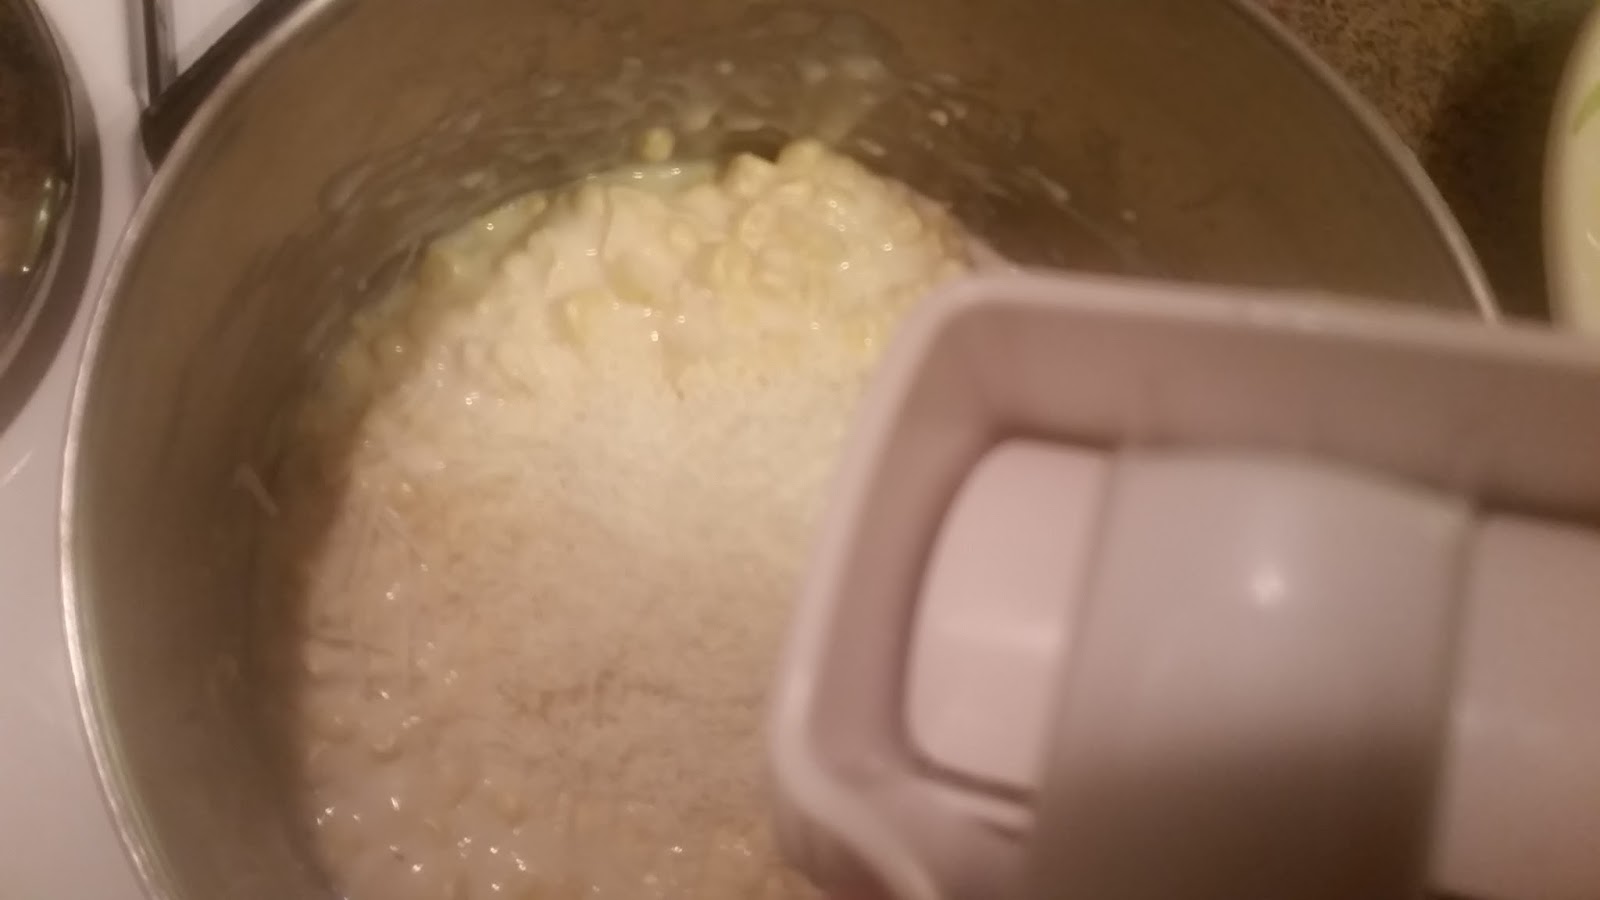
In a medium saucepan (this one is a little small), warm 2 c heavy cream, 1 c milk, 1 1/4 tsp vanilla extract, and a heaping 1/2 tsp sea salt. 

Just heat this mixture until it's starting to bubble a little, then remove it from the heat, give it a stir, and set it aside. 


In a large saucepan (3 quarts is great), stir together 1 c white sugar (raw worked for me once, but can crystallize more easily), 2 Tbsp light corn syrup, and 1/4 c water. 

Although the corn syrup we buy at the supermarket is not the same as the HFCS we're all avoiding these days, you can omit the corn syrup and replace it with an equal amount of sugar if you like. The caramel might be a bit more temperamental, though. I've messed up more than one batch over the years!


Stir over medium heat until the sugar is dissolved, then stop stirring when it starts to bubble. 

Continue cooking about ten minutes, until the mixture turns a deep amber color and JUST starts to smell slightly burny. Take the pan off the heat immediately and CAREFULLY add in the cream mixture a little at a time, stirring well. Sorry I didn't get pics of these steps, but they require quick and careful action! You can find more info on making caramel at davidlebovitz.com.


If you don't like the bitterness of burnt caramel, stop cooking when it turns a medium amber. Also, if you go too far and burn the heck out of it, start over before adding the cream. And use a different pot!
Now you have a gorgeous but thin caramel sauce...so we're going to thicken it into a custard. Separate 6 eggs and whisk the yolks together. Put the whites aside and use them for something else...maybe tomorrow's breakfast or some meringues? 

If you add the yolks right into the hot caramel sauce, you'll end up with scrambled eggs in caramel sauce. Yuck. To avoid this, ladle about a cup of the caramel into the yolks while whisking, then pour that mix back into the caramel and whisk well.

Next, you want to strain this custard through a fine mesh sieve or mesh colander to remove any little lumpy bits from the milk or the caramel. If you don't, it's not the end of the world. Strain it into a 4 cup liquid measure if you have one, or a bowl if you don't have one.


Warm up a tea kettle of water to have ready for the baking process. It shouldn't quite be boiling.


Pre-heat the oven to 325. Put 10 four-ounce Mason jars or ramekins into a large baking dish and pour or ladle in the custard, up to about 1/2 an inch from the top.

I'm going to share two ways to do the water bath - I'm tall and my oven is low, so the first is how I do it.

Very carefully pour warm water into the baking dish (not into the ramekins, obvi) up to about halfway up the jars.

Cover the baking dish tightly with foil and move it CAREFULLY to the oven. FYI, this will not be the last time I use the word carefully in this post. Pots de creme are not super hard, but making them involves a lot of steps that could be burny in a bad way. 


The other way to do it, which can be safer if your oven is higher up the wall or if you're shorter than I am, is to put the pan with the jars in the oven before pouring the water in and covering with the foil. Somehow I manage to burn myself more this way, but it's usually recommended as a safer method.

Bake at 325 for about 35 minutes, until the edges are starting to set up (taking on a different color and texture). You'll need to check them by opening the oven and CAREFULLY opening the foil to get a good look.


CAREFULLY remove the baking dish from the oven and the jars from the hot water. Cover each jar with the lid (you can put on the rings later when they've cooled more) or a piece of plastic wrap. Alternately, remove the jars from the pan and leave the pan to cool in the oven. 

Put the jars in the refrigerator for 2 to three hours to cool and finish setting up. Sprinkle a little finishing salt over each custard before serving. Enjoy!!!


Right click to save the image below to print.